
Creating engaging videos can be a game-changer for content creators, marketers, educators, and businesses. Viggle.ai offers a user-friendly platform that simplifies this process through advanced AI technology. This guide will take you through each step of using Viggle.ai to create captivating videos, from setting up your account to finalizing your project.
A. Introduction to Viggle.ai
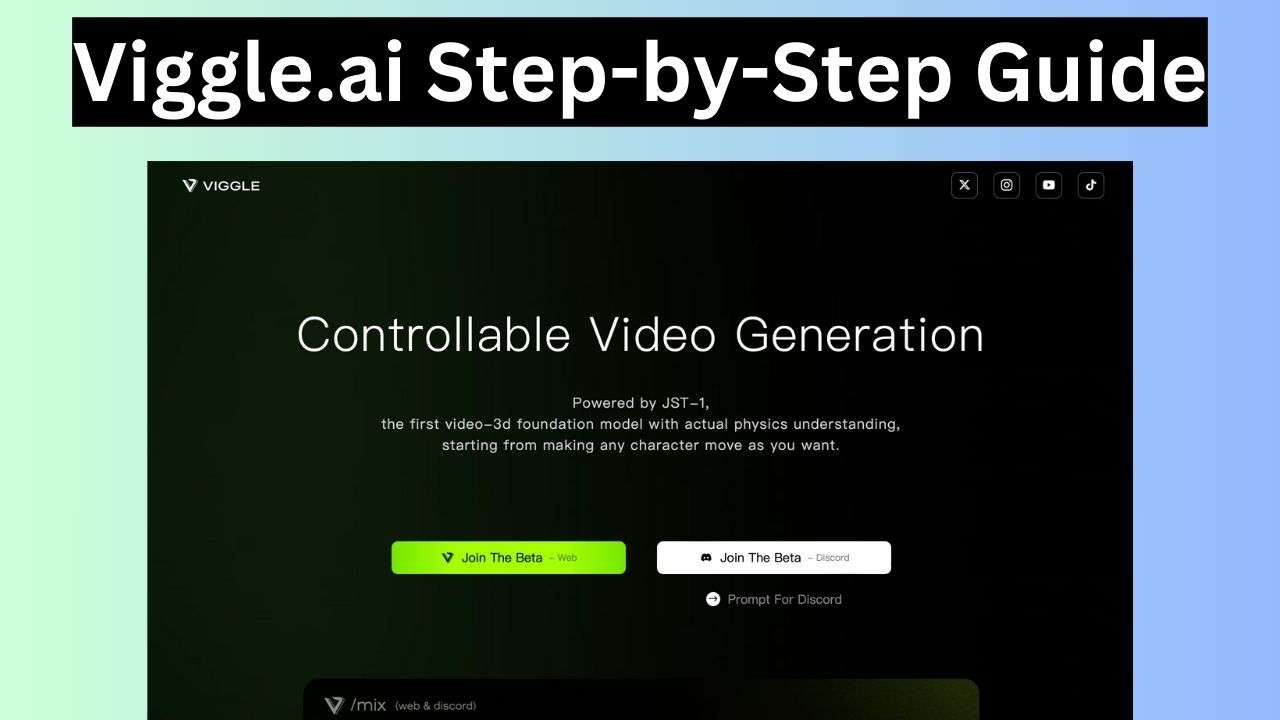
Viggle.ai is an innovative tool that uses AI to transform text prompts into dynamic, engaging videos. It’s designed for users of all skill levels, making video creation accessible and efficient. Whether you’re a seasoned video editor or a beginner, Viggle.ai streamlines the process, allowing you to produce high-quality videos quickly.
B. Getting Started with Viggle.ai
1. Sign Up and Account Setup
a. Visit the Viggle.ai website and sign up for an account. You can start with a free trial to explore the tool’s capabilities before committing to a paid plan.
b. Log into your account once signed up. The dashboard is intuitive, guiding you through the initial setup.
c. Choose a pricing plan that fits your needs. Viggle.ai offers various plans, including Basic, Professional, and Enterprise, each with different features and capabilities.
C. Exploring the Dashboard
Upon logging in, you’ll be greeted with a clean and organized dashboard. Here, you can access your projects, templates, and collaboration tools.
2. Familiarize Yourself with the Dashboard
a. Explore the different sections and tools available.
D. Creating Your First Video
3. Selecting a Template
a. Choose a template that suits your video project. Templates are categorized based on different themes and purposes, such as marketing, education, or social media content.
b. Preview the templates to see how they look and function. Select one that aligns with your vision.
4. Customizing the Template
a. Customize the template to match your brand or message. This includes adding your text, images, and other media elements.
b. Use the text prompt feature to control characters and scenes. Simply type in commands, and Viggle.ai will interpret them to animate your video.
E. Adding Media Elements
5. Importing Images and Videos
a. Upload your images, videos, and other media files. Viggle.ai supports various formats, making it easy to integrate your content.
b. Drag and drop these elements into the template. Arrange them according to your storyboard or script.
F. Enhancing Your Video
6. Using Animation and Effects
a. Utilize Viggle.ai’s animation tools to bring your video to life. You can animate characters, add transitions, and apply effects to make your video more engaging.
b. Adjust the timing and pacing of your animations. Ensure that the flow of your video aligns with your narrative.
G. Adding Audio
7. Incorporating Music and Voiceovers
a. Add background music to enhance the mood of your video. Viggle.ai offers a library of royalty-free music tracks, or you can upload your own.
b. Record or upload voiceovers. This is crucial for explaining concepts or providing narration in your video.
c. Sync the audio with your video elements. Make sure the voiceover matches the on-screen actions and transitions.
H. Collaborating with Team Members
8. Utilizing Collaboration Tools
a. Invite team members to collaborate on your project. Viggle.ai’s collaboration features allow multiple users to work on the same video simultaneously.
b. Assign roles and permissions. This ensures that each team member can contribute effectively without causing conflicts.
I. Reviewing and Editing
9. Fine-Tuning Your Video
a. Review your video thoroughly. Play it from start to finish to identify any issues or areas for improvement.
b. Make necessary edits. Adjust animations, transitions, and audio levels to ensure everything is polished.
J. Exporting Your Video
10. Finalizing and Exporting
a. Once you’re satisfied with your video, proceed to export it. Choose the resolution and format that best suits your needs.
b. Download the video file. Viggle.ai supports various formats, ensuring compatibility with different platforms.
c. Share your video. Upload it to your website, social media channels, or any other platform where you want to engage your audience.
Tips for Getting the Most Out of Viggle.ai
- Experiment with Prompts: The text-to-video feature is powerful but may require some trial and error. Experiment with different prompts to see how they affect your video.
- Leverage Templates: Use the available templates to save time and maintain consistency in your videos.
- Collaborate Effectively: Take advantage of the collaboration tools to enhance your projects with input from team members.
- Stay Updated: Keep an eye on new features and updates to maximize the tool’s potential.
Common Challenges and Solutions
- Prompt Misinterpretation: Sometimes, the AI might not interpret your prompts accurately. Be clear and specific in your commands, and use the preview feature to check the results.
- Syncing Audio and Video: Ensure that your audio elements are perfectly synced with the video to avoid disjointed experiences. Use the timeline and playback features to fine-tune syncing.
Viggle.ai offers a streamlined and efficient way to create engaging videos. By following this step-by-step guide, you can harness the power of AI to produce professional-quality content without the complexity of traditional video editing software. Whether you’re a marketer, educator, or content creator, Viggle.ai can help you bring your ideas to life with ease.
FAQs
Q: Can I use Viggle.ai on mobile devices?
A: Currently, Viggle.ai is optimized for desktop use, but mobile support is in development.
Q: Does Viggle.ai offer customer support?
A: Yes, Viggle.ai provides customer support, with priority support for Professional and Enterprise plan users.
Q: What formats can I export my videos in?
A: Viggle.ai supports various formats, including MP4 and MOV, allowing for flexible use across different platforms.
Q: How long does it take to create a video with Viggle.ai?
A: The time required depends on the complexity of your video. Simple projects can be completed in minutes, while more intricate videos may take longer.
Q: Is there a limit to the number of projects I can create?
A: The number of projects you can create depends on your subscription plan. Higher-tier plans offer more flexibility and storage.
By following these steps and tips, you can create engaging and professional videos with Viggle.ai, enhancing your content creation process and reaching your audience more effectively.
2 thoughts on “Step-by-Step Guide to Creating Engaging Videos with Viggle.ai”
Comments are closed.